Food Photography Tips for Bloggers: A Phone-First Setup
Light and crops matter more than your camera. Here's a phone-first food photography setup for bloggers: window light, angles by dish, budget styling, a short edit and the exact image sizes recipe cards and Pinterest want.
The food photography tips for bloggers that matter most are about light and framing, not gear. Shoot on a phone beside a window with side light, diffuse it, bounce it back with white card, pick the angle by dish shape, and shoot wide enough to crop the 1x1, 4x3, 16x9 and 2:3 versions Google and Pinterest use.
Key takeaways
- Window side light with a diffuser and a white bounce card gives most food bloggers better results than a new camera, at close to zero cost.
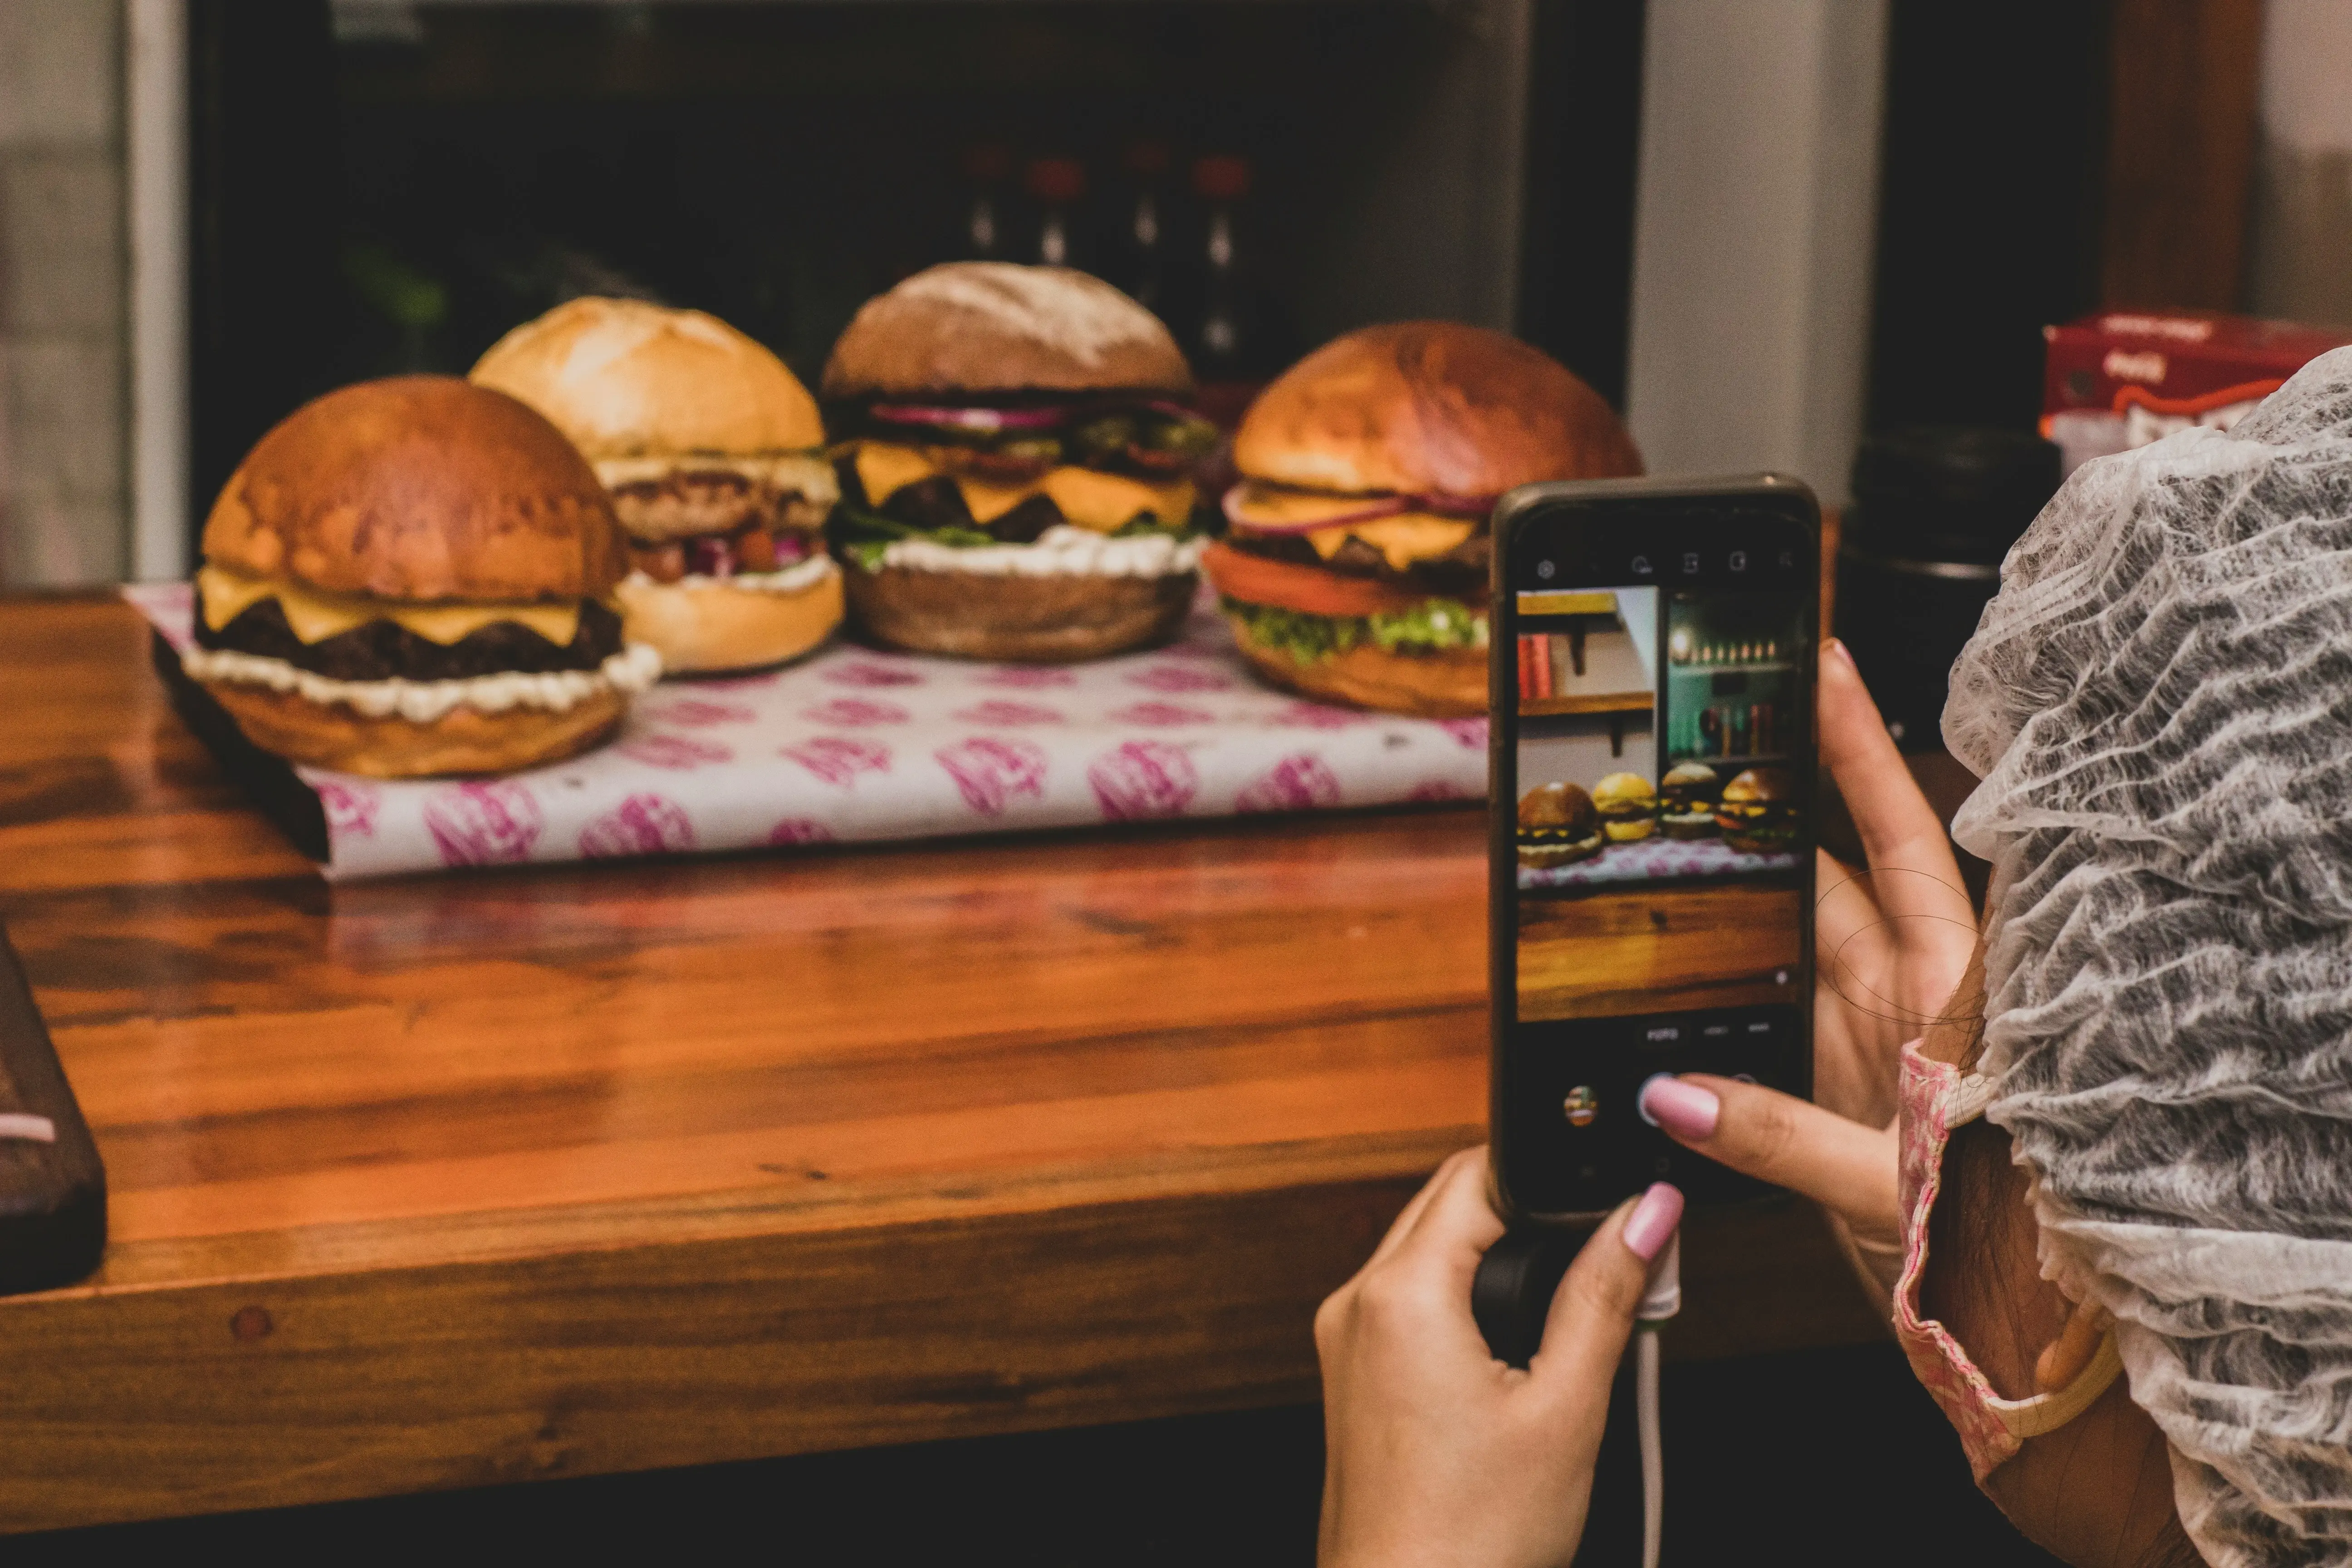
- Food photography angles depend on the dish: overhead for flat foods like pizza and salads, about 45 degrees for bowls and plated meals, and straight on for tall foods like burgers and layer cakes.
- Google recommends recipe images in 16x9, 4x3 and 1x1 aspect ratios with at least 50,000 pixels when width is multiplied by height.
- Pinterest recommends a 2:3 aspect ratio, such as 1000 x 1500 pixels, and says taller Pins may be cut off in feeds.
- Shooting slightly wide with empty space around the dish lets one phone photo produce every crop a recipe page and Pinterest need.
On this page
▼
- Food photography tips for bloggers: what light setup do you need?
- What is the best angle for each dish?
- How do you style food on a budget?
- What is a quick editing workflow for food photos?
- What photo sizes do recipe cards and Pinterest need?
- Worked example: one phone photo, four crops
- How do photos help a recipe rank?
- How Jupiter fits
Food photography tips for bloggers usually start with gear. They should start with light. A phone beside a window, a sheet of baking paper and a piece of white card will beat a new camera in a dark kitchen every time.
Our point of view: shoot for the crops you need, not for one perfect frame. A recipe page and its Pins need several aspect ratios, so the best photo is one that still works after you crop it four ways. This guide gives you a phone-first setup, step by step.
Food photography tips for bloggers: what light setup do you need?
Food bloggers need one window, one diffuser and one bounce card. That's the whole kit.
Put your table next to a window so light comes from the side or slightly behind the dish. Light from behind the camera flattens food.
Turn off the room lights. Mixing warm bulbs with daylight gives you color you can't fully fix later.
If sun hits the table directly, hang a sheer curtain or tape baking paper over the window. That softens hard shadows.
Hold or prop a white card, foam board or folded menu on the side opposite the window. It bounces light back into the shadows.
For a moodier look, swap the white card for a black one. Shadows deepen, and dark breads, stews and chocolate look richer.
Shoot at the same time of day for a series. Your recipe archive will look consistent, which matters once your photos sit side by side on a category page.
What is the best angle for each dish?
The best angle shows the part of the dish that makes people want it. Use the shape of the food to decide.
Dish shape | Examples | Angle | Why |
|---|---|---|---|
Flat | Pizza, salads, sheet pan dinners, tarts | Overhead | The surface is the dish |
Bowls and plated meals | Ramen, curries, pasta, grain bowls | About 45 degrees | Shows depth and the top |
Tall | Burgers, layer cakes, stacked pancakes | Straight on | Height is the appeal |
Drinks | Smoothies, cocktails, iced coffee | Straight on or slightly above | Shows the glass and the layers |
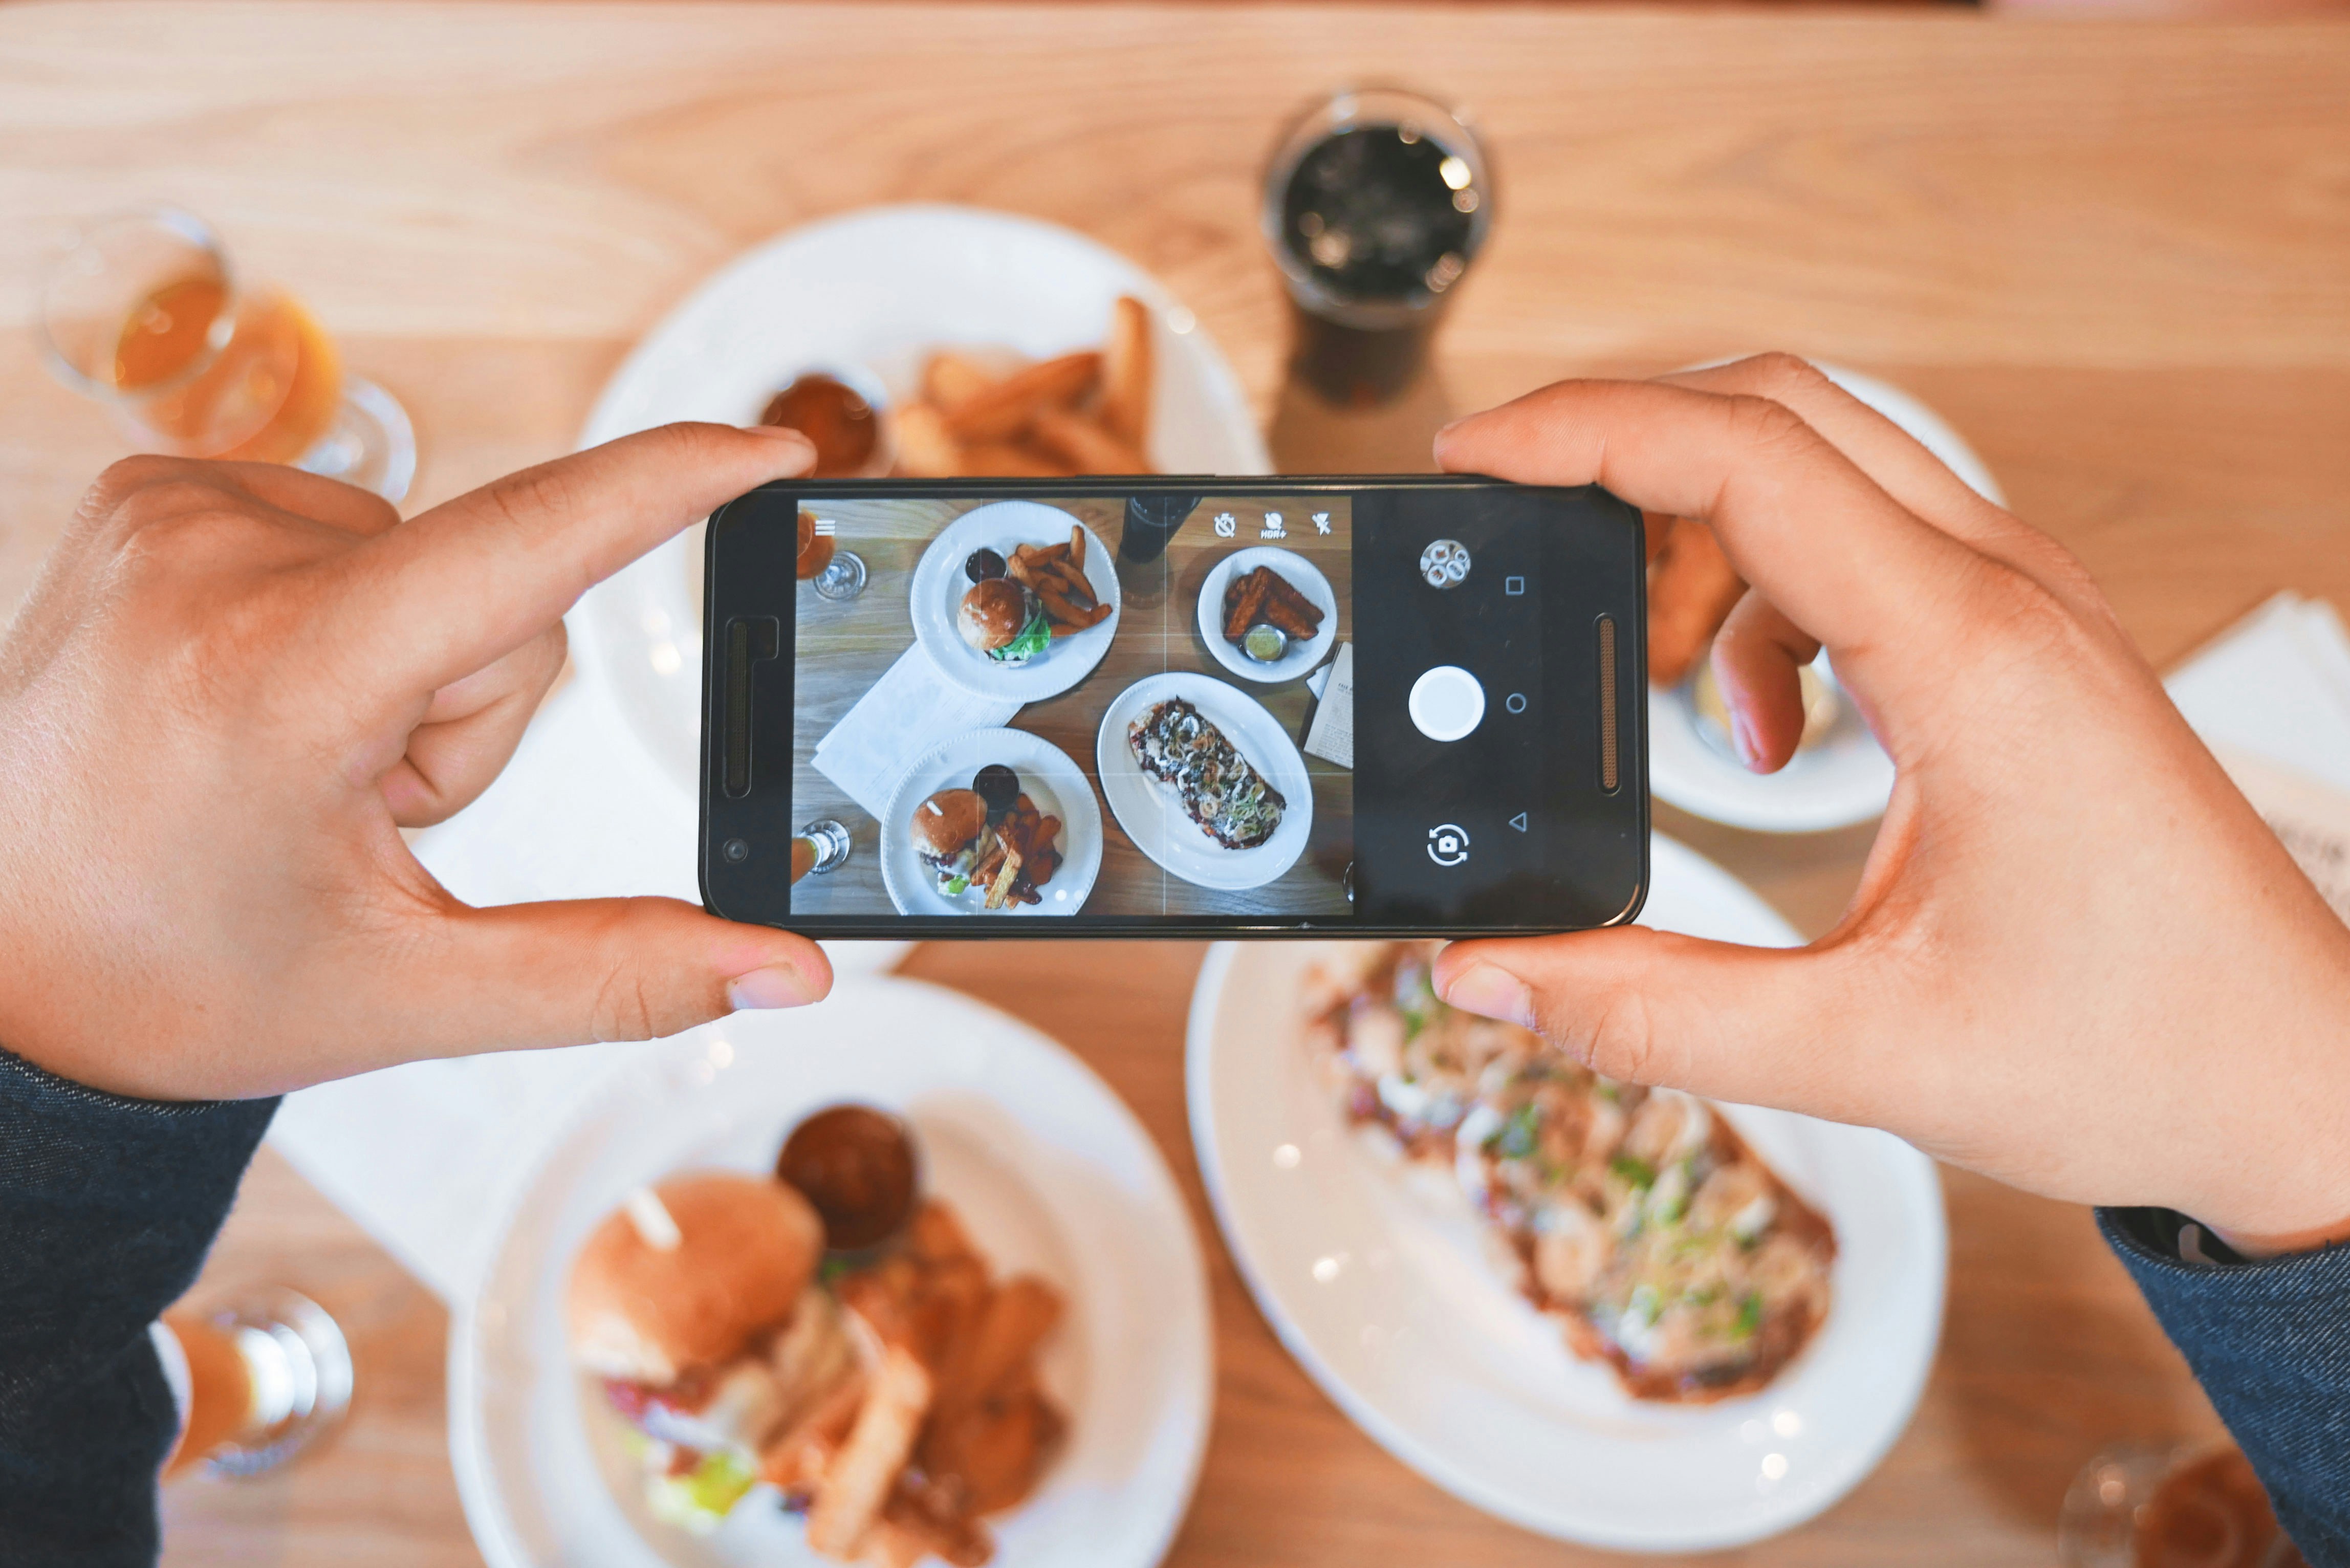
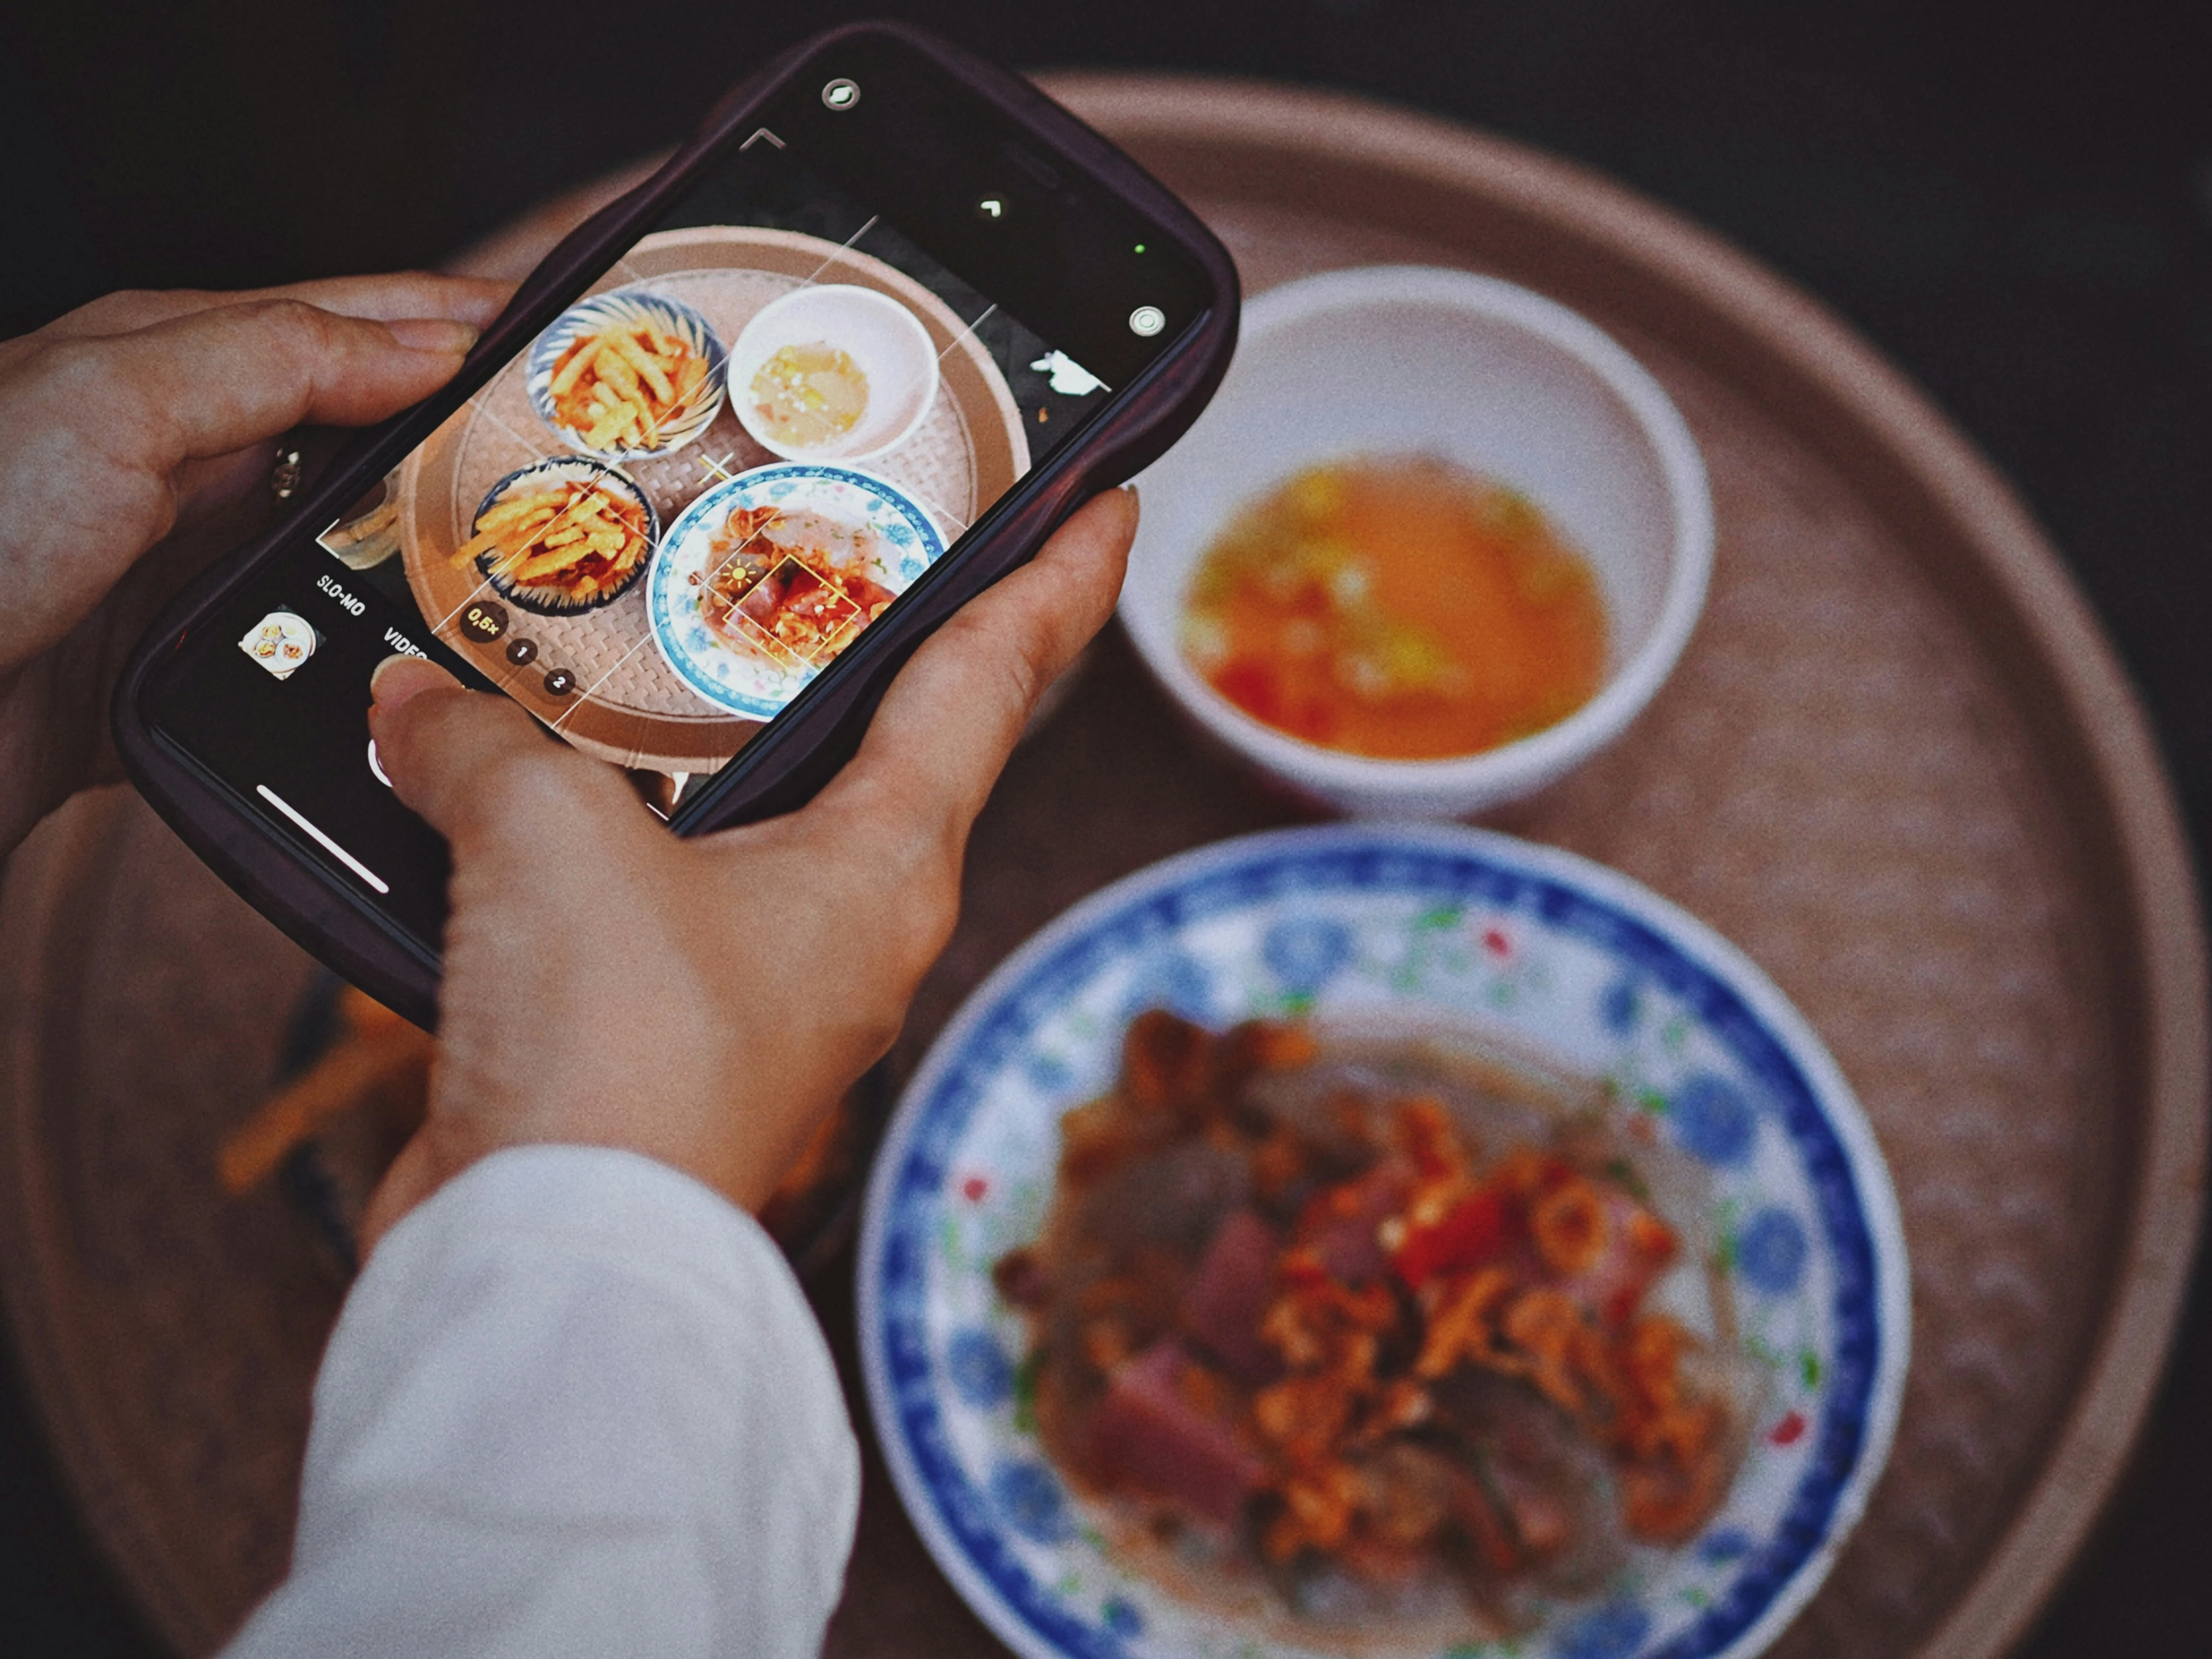
Turn on your phone's grid lines and keep the horizon straight. Don't use digital zoom, which throws away resolution. Step closer instead.
How do you style food on a budget?
Style with what's already in your kitchen and keep the dish the hero. Food styling tips that cost nothing:
Use one or two neutral plates and a matte surface. Shiny surfaces reflect the window.
Add a raw ingredient from the recipe next to the plate, such as a halved lemon or a few basil leaves.
Wipe the rim of every plate and bowl with a damp paper towel before you shoot.
Undercook vegetables slightly for the photo so they stay bright and hold their shape.
Add a "human" touch: a spoon mid-scoop, a torn piece of bread, a few crumbs placed on purpose.
Everything in the frame should be something a reader could plausibly have when they cook your recipe. That keeps the photo honest.
What is a quick editing workflow for food photos?
Edit in this order and stop early. Most food photos need under five minutes.
White balance first, so a white plate looks white.
Exposure, so the brightest part of the food isn't clipped.
A small contrast lift.
A small saturation or vibrance lift, watching that greens don't turn neon.
Crop to your target ratios (next section).
Remove crumbs or smudges you missed, and leave the food itself as you cooked it.

Your photos deserve a recipe page that pays
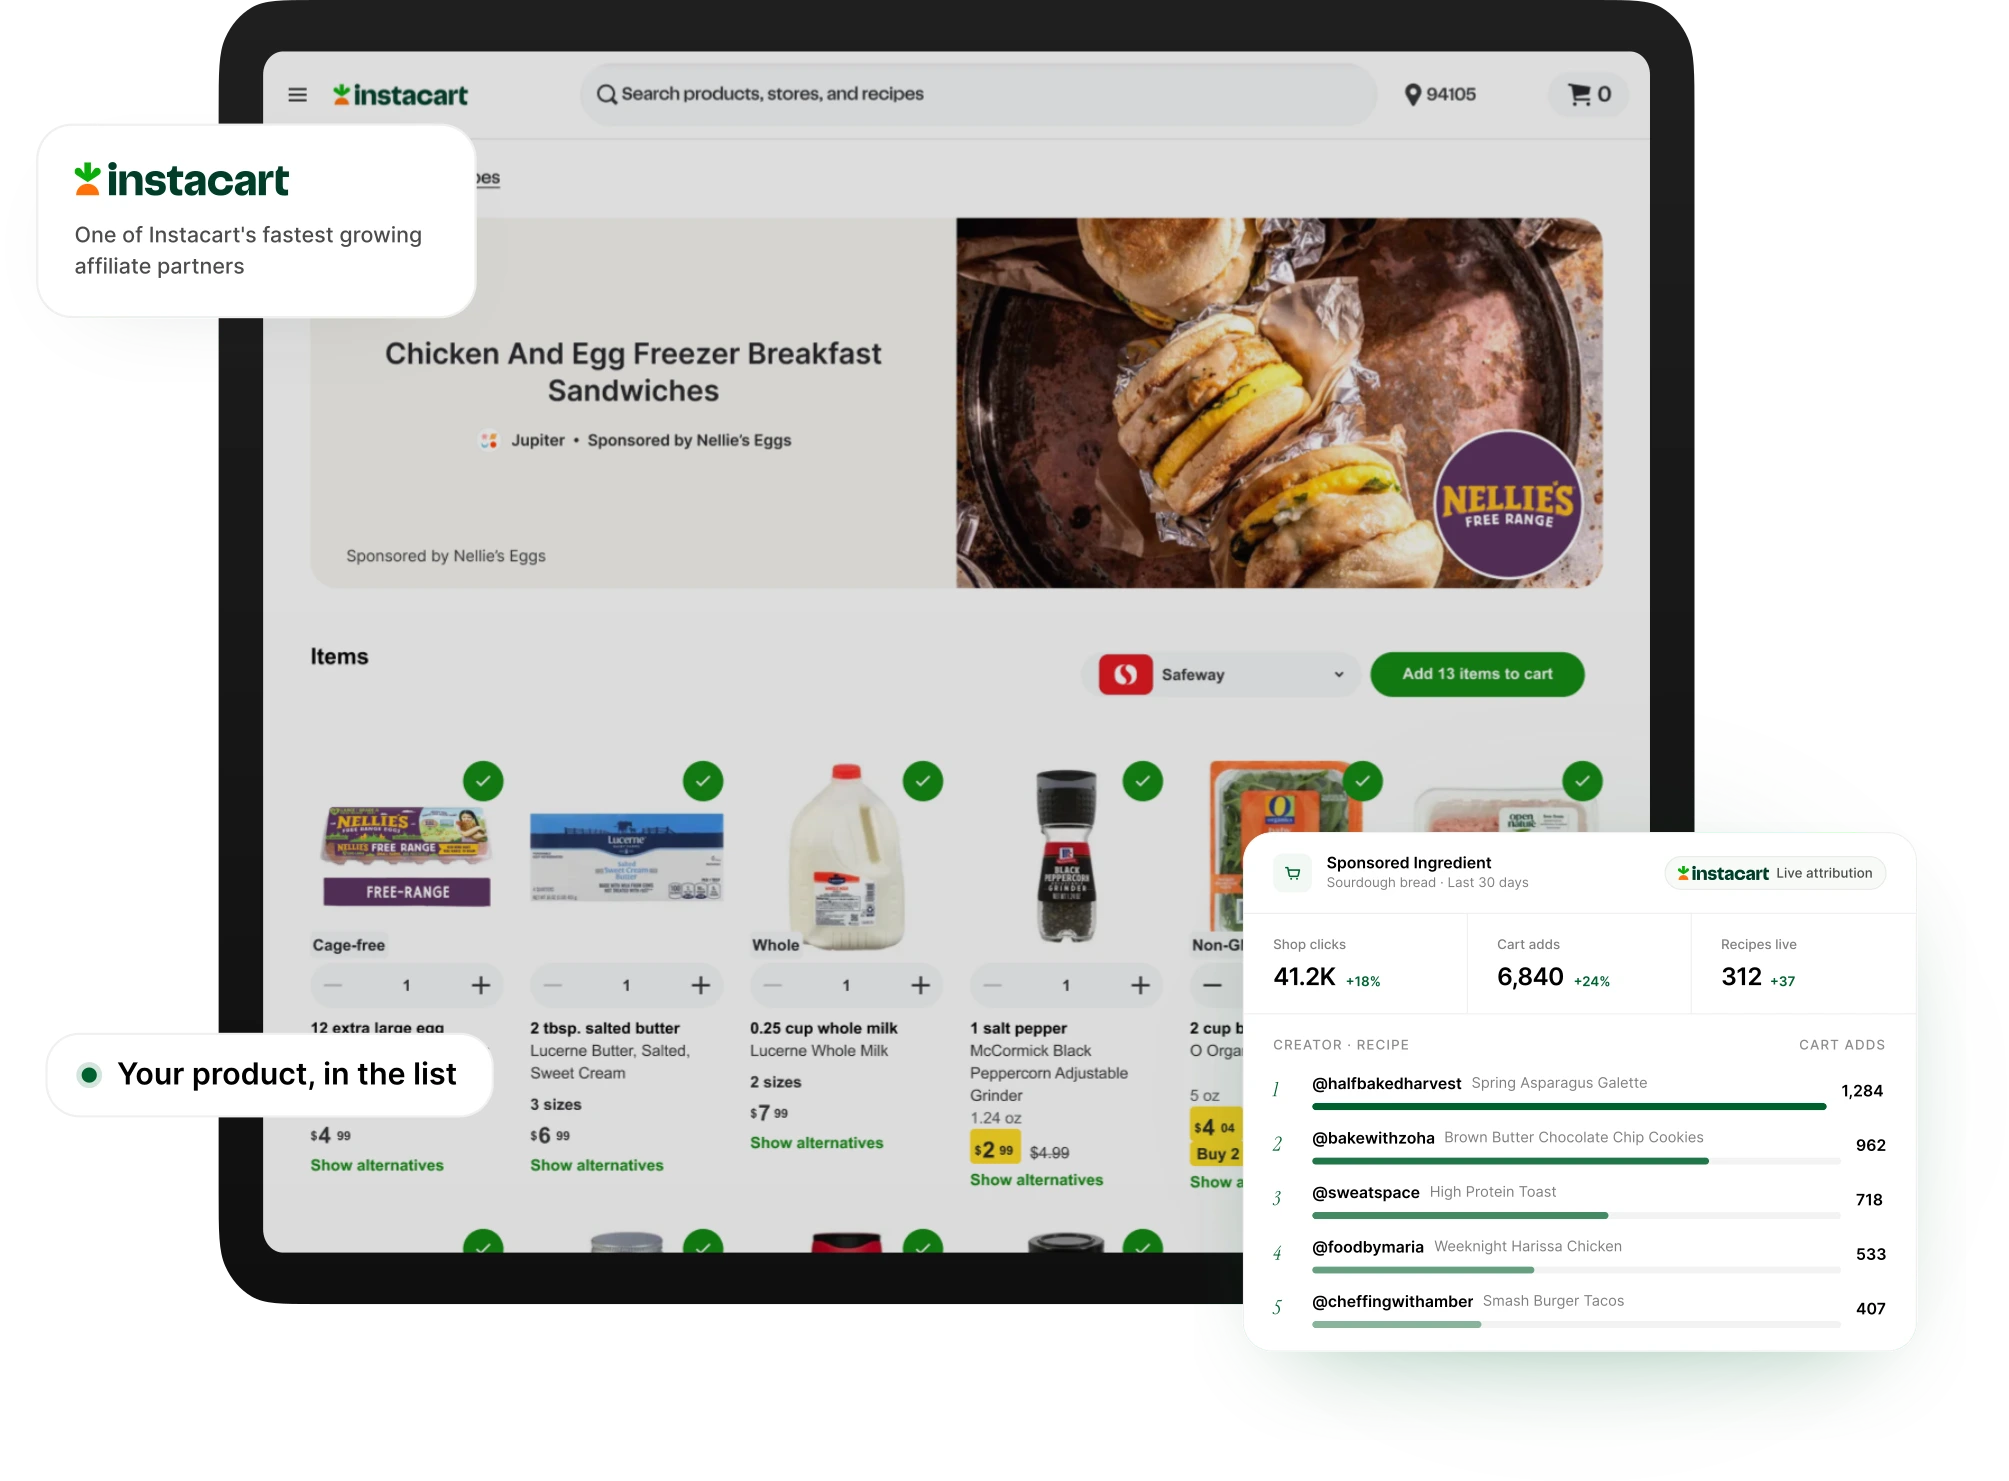
Jupiter builds recipe pages from the posts you already publish, with your photos, schema markup and shoppable ingredient lists. Free to join.
What photo sizes do recipe cards and Pinterest need?
Recipe pages and Pinterest need different shapes, so plan your crops before you shoot. These are the platform recommendations as of 2026:
Where it shows | Recommended shape | Source |
|---|---|---|
Google recipe rich results | 16x9, 4x3 and 1x1, each at least 50,000 pixels (width times height) | |
Pinterest Pin | 2:3, such as 1000 x 1500 pixels |
Pinterest also says Pins taller than 2:3 may get cut off in feeds. Our guide to Pinterest for food bloggers covers what to put on the Pin itself.
Worked example: one phone photo, four crops
This is an illustrative example using a common 12-megapixel phone frame of 4032 x 3024 pixels (4:3 horizontal).
Crop | Size from that frame | Pixels | Clears Google's 50,000? |
|---|---|---|---|
4x3 | 4032 x 3024 | About 12.2 million | Yes |
16x9 | 4032 x 2268 | About 9.1 million | Yes |
1x1 | 3024 x 3024 | About 9.1 million | Yes |
2:3 Pin | 2016 x 3024 | About 6.1 million | Yes, and above Pinterest's 1000 x 1500 |
Pixels are never the problem. Framing is.
If the dish fills the whole horizontal frame, the 1x1 and 2:3 crops cut off the plate. Leave empty space around the food, or shoot one extra frame in portrait for Pinterest.
How do photos help a recipe rank?
Photos help when Google can understand them. Add the image to your recipe schema, and write alt text that describes the dish, such as "Bowl of red lentil soup topped with yogurt and chili oil." Google's image SEO guidelines call alt text the most important attribute for image metadata and warn against keyword stuffing.
Our recipe schema markup guide shows where the image field goes. For the rest of on-page SEO, see our food blog SEO guide. For using the same photos on social, see how to grow a food Instagram page.
How Jupiter fits
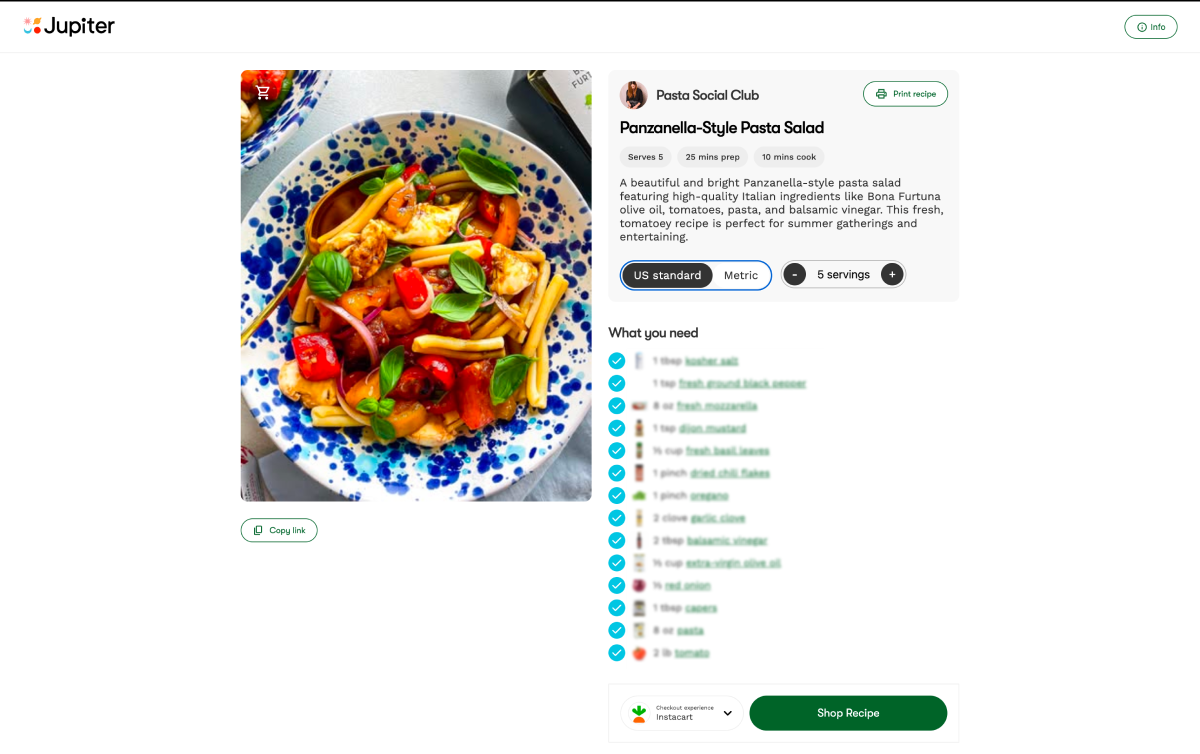
Jupiter turns the content you already post into full recipe pages, including images and schema markup, on a recipe site it builds for you or on the blog you already have. Your photos then sit on pages that can earn from ads, grocery commissions and brand campaigns.
You can apply to Jupiter with no follower minimum, and Jupiter isn't exclusive.
Put your best food photos to work
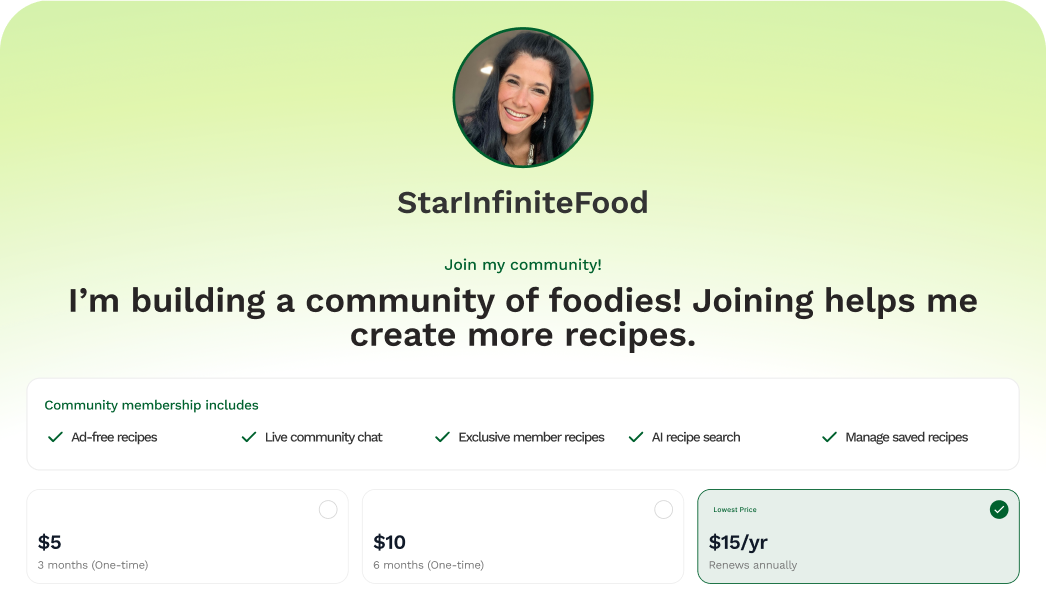
Join Jupiter free and get recipe pages, grocery commissions and brand campaigns built on the content you already shoot.
FAQs
Quick answers to common questions.
Can you do professional food photography with a phone?▼
Yes, for blog and social use. Modern phone cameras resolve far more pixels than recipe pages need, so light, angle and styling decide the result. Turn on grid lines and avoid digital zoom.
What is the best light for food photography?▼
Indirect daylight from a window, coming from the side or slightly behind the dish. Diffuse harsh sun with a sheer curtain or baking paper, and bounce light into the shadows with white card. Turn off overhead room lights to avoid mixed color.
What size should recipe photos be?▼
Google recommends recipe images in 16x9, 4x3 and 1x1 aspect ratios, each at least 50,000 pixels when you multiply width by height. For Pinterest, use 2:3, such as 1000 x 1500 pixels.
What angle is best for food photos?▼
It depends on the dish's shape. Shoot flat dishes from overhead, bowls and plated meals from about 45 degrees, and tall foods like burgers or stacked pancakes straight on, so their height shows.
Do I need editing apps for food photography?▼
A basic editor is enough. Adjust white balance first so whites look white, then exposure, then a small contrast and saturation lift. Keep edits light so the dish looks like what readers will make.
Related Posts
Browse more from our blog.